
Guides
A guide to leasing a US storefront, ADA and health department plan review
A gelato shop lease ADA health review covers Title III access, grease traps, plan review and the certificate of occupancy before opening day.
What to take away
- A gelato shop lease ADA health review starts before signature: confirm the space can meet Title III access, grease trap and plan review rules.
- ADA Title III applies to any gelato shop open to the public, and the 2010 ADA Standards govern counters, aisles and parking.
- Grease traps are usually required when you wash equipment or drain dairy waste, and the size is set by local plumbing code.
- Health department plan review comes before construction, not after, and the certificate of occupancy closes the loop.
- SBA 7(a) loans and microloans can fund build-out, equipment and some soft costs.
- Order of operations before you signconfirm access, size the grease trap, submit plans and get health approval before you pull construction permits.
- Typical build-out for a small food-service space runs about $75 to $250 per square foot, with access work and plumbing inside that number.
ADA Title III obligations before you sign a US gelato shop lease
A gelato shop is a place of public accommodation, so Title III applies from the day you open the door. The obligations are not conditional on building age. They attach to the business that serves the public.
Read the Title III regulations covering public accommodations before you negotiate. They set out who is covered, what discrimination means, and what modifications and auxiliary aids a shop must provide.
Who owns which access obligation
Lease language splits responsibility. Landlords often own the shell, the parking lot and the path of travel. Tenants own the interior, the service counter and the restroom they build.
If the building fails an access requirement, the cost can land on you anyway. A tenant who operates a non-compliant shop is exposed even when the landlord owns the defect.
Ask for the landlord's prior ADA work orders, permits and any barrier removal already done. Get the answer in writing as a lease representation.
Read the lease for access clauses
Look for a clause that puts ADA compliance on the tenant. Most commercial leases do. That clause can make you pay for a parking fix or a ramp you will never use.
Negotiate a cap on your share of common-area access work. Tie it to a dollar amount or to the first year of rent.
A tenant improvement allowance should state whether it covers access work. If it does not, price the work into your lease costs before you sign.
Ask for these access terms in writing:
- Landlord represents the shell, the path of travel and the parking meet the 2010 ADA Standards on delivery.
- Tenant's share of common-area access work is capped at a stated dollar amount.
- Landlord completes common-area barrier removal within 30 days of written notice, at landlord cost.
- The tenant improvement allowance may pay for the accessible counter, the grease trap and the restroom.
- Tenant may terminate if plan review or a plumbing inspection shows the space cannot be made compliant.
Sample clause: Landlord shall deliver the premises and common areas in compliance with Title III of the ADA, and common-area barrier removal shall be at Landlord's sole cost.
Typical interior access work runs from a few thousand dollars for a counter and signage to tens of thousands when a restroom or the route must be rebuilt.
Do not sign on a handshake or a floor plan
A marketing floor plan is not a survey. Measure the door widths, the restroom and the path from the sidewalk yourself, or hire someone to do it.
An older storefront can still work. But you need to know the gap between what exists and what the standards require before money changes hands.
That gap is a negotiating chip. It is also a build-out number that belongs in your pro forma.
Use a conditional period
Ask for a feasibility period, commonly 30 to 60 days, to run your inspections. During that window you can walk away if the access or plumbing picture is bad.
Use the time to order a survey, talk to the health department and get a plumbing quote. This is the cheapest diligence you will ever buy.
If the landlord refuses any contingency, treat that as information about the rest of the deal.
Grease trap and plumbing requirements for a gelato build-out
Gelato equipment gets washed. Dairy residue, fruit purees and sanitizer go down the drain. Most US jurisdictions treat that as grease-laden waste and require a trap.
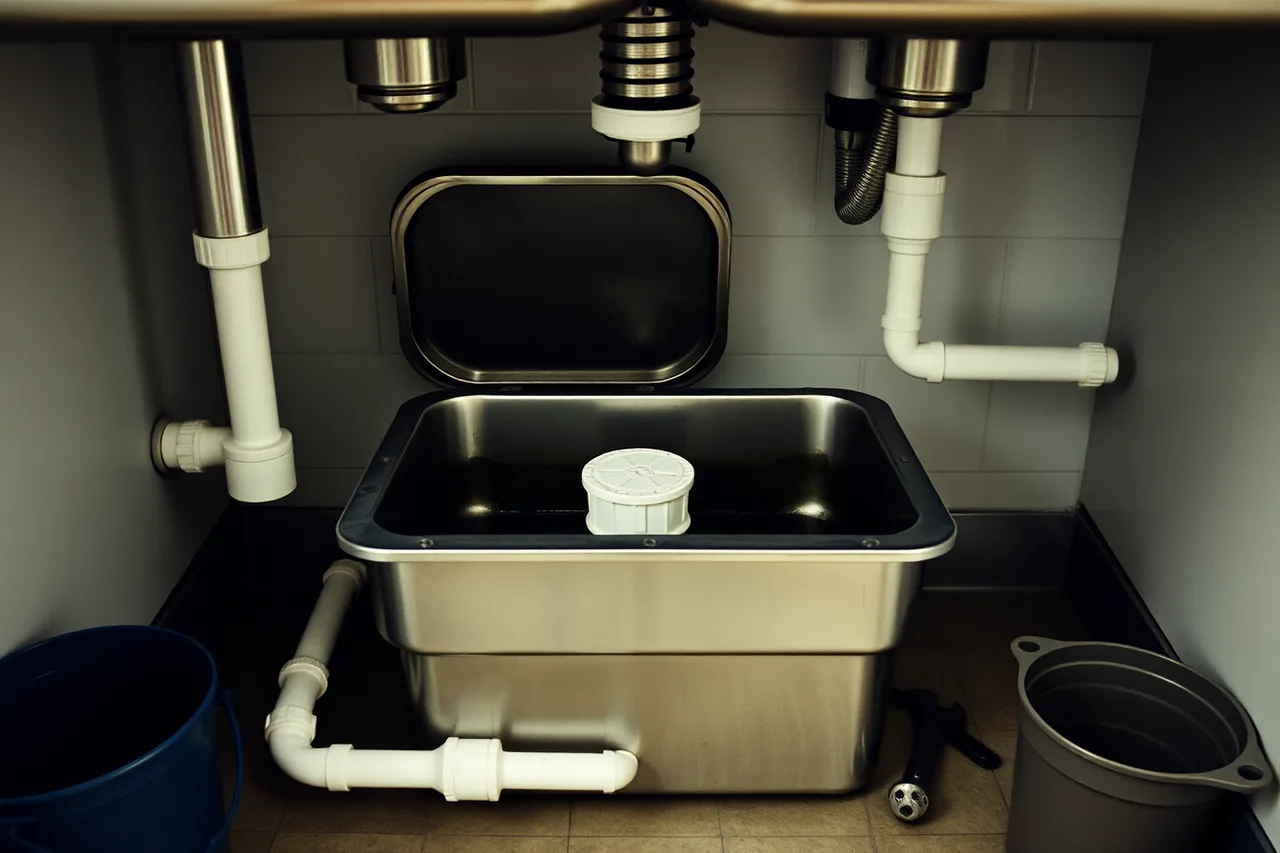
A three-compartment sink is standard in food service. So is a hand sink at the prep area and often one at the service counter.
When a grease trap is required
Rules come from the local plumbing code and the sewer authority, not from a single national rule. A shop that only scoops and never washes might argue its way out. A shop with a pasteurizer, a batch freezer and a dish pit will not.
New York City, Chicago and Los Angeles County all require grease interception for food service, but each writes its own sizing and pumping rules.
Ask the local plumbing inspector and the water or sewer utility early. Get the answer in writing, with the required gallons per minute.
Interceptor types
Where it goes
- Under-sink interceptor
- Inside, below the sink
- Floor-mounted indoor trap
- Utility room or back area
- Outdoor concrete interceptor
- Below grade outside
- Grease recovery unit
- Inline, above or below floor
Typical fit
- Under-sink interceptor
- Small shops, low flow
- Floor-mounted indoor trap
- Most scoop shops
- Outdoor concrete interceptor
- Higher flow, multi-sink kitchens
- Grease recovery unit
- Tight footprints
Sizing is not guesswork. The plumbing code and the manufacturer's chart use fixture volume and flow rate. Undersize it and you will pump it monthly.
Typical installed costs run about $500 to $2,000 for an under-sink interceptor, $2,000 to $8,000 for a floor-mounted indoor trap and $6,000 to $20,000 or more for an outdoor concrete unit. Slab cutting, depth, venting and permits drive the top of each band.
Venting, backflow and floor drains
A grease trap needs venting, and a backflow preventer may be required at the water service. Floor drains belong in the dish area and near the machines.
Slope matters. A drain that pools leaves standing water and a health inspection problem.
If the space has no floor drain and the slab is post-tension, the cost of adding one can change the deal. That is a site selection question as much as a construction one.
Who pumps the trap
Budget for grease pumping as a recurring cost. Frequency depends on size, use and local rules. Keep the manifests. Inspectors ask for them.
Many local rules require pumping when grease and solids reach 25 percent of the trap depth.
Route the trap so a pumper can reach it without moving equipment. A trap behind a built-in freezer is a trap you will not maintain.
Water, power and gas
Batch freezers and display cases pull serious electrical load. Confirm the panel amperage and whether the service can be upgraded.
Check the water heater capacity for hand sinks and warewashing. Check gas service if you plan a pasteurizer or a boiler.
Each of these is a line item in your startup costs. Get quotes before you commit to the space.
Health department plan review: documents and sequence
Plan review is the health department's check on your layout before you build. Submit too late and you build a kitchen you have to tear out.
The sequence matters more than the paperwork. Most delays come from starting construction before approval.
Step by step
- Contact the local health department that has jurisdiction over the address and ask for its plan review packet.
- Submit a scaled floor plan showing equipment, sinks, drains, the grease trap, storage and restrooms.
- Include equipment specifications and cut sheets for every unit, including the batch freezer and display case.
- Submit the menu or product list, the water source and the sewage disposal method.
- Pay the review fee and wait for comments, then resubmit revised drawings until approved.
- Pull building and plumbing permits only after plan approval, then build.
- Request the pre-opening inspection when construction is complete.
Documents most reviewers ask for
- Scaled floor plan with equipment schedule
- Plumbing riser diagram and grease trap sizing
- Equipment cut sheets and NSF listings
- Menu and food handling description
- Finish schedule for floors, walls and ceilings
- Restroom and hand sink locations
- Water supply and sewage disposal details
Menu drives the review
A scoop-only shop is a simpler review than a shop that pasteurizes its own base. If you make gelato from raw ingredients, say so. The reviewer will want to see the process and the cooling steps.
If you only store and scoop, say that too. Understating your process creates a mismatch between the plan and the shop.
Timing and fees
Review timelines vary by jurisdiction, from a couple of weeks to a couple of months. Fees scale with project size and are rarely refundable.
Small county departments commonly answer in two to four weeks. Large city reviews such as New York City, Chicago and Los Angeles County typically run six to twelve weeks.
Plan review fees commonly run $200 to $1,500, scaled to square footage, equipment count and whether you add a hood or a floor drain. Building permit fees are charged separately.
Build the review window into your opening schedule. A signed lease with rent starting before approval is a cash burn.
This is the same pattern that runs through licensing and compliance for any food business.
Accessible counters, aisles and parking under the ADA Standards
The 2010 ADA Standards for Accessible Design are the technical rules that plan reviewers and inspectors apply. They cover the counter, the route and the parking stall.
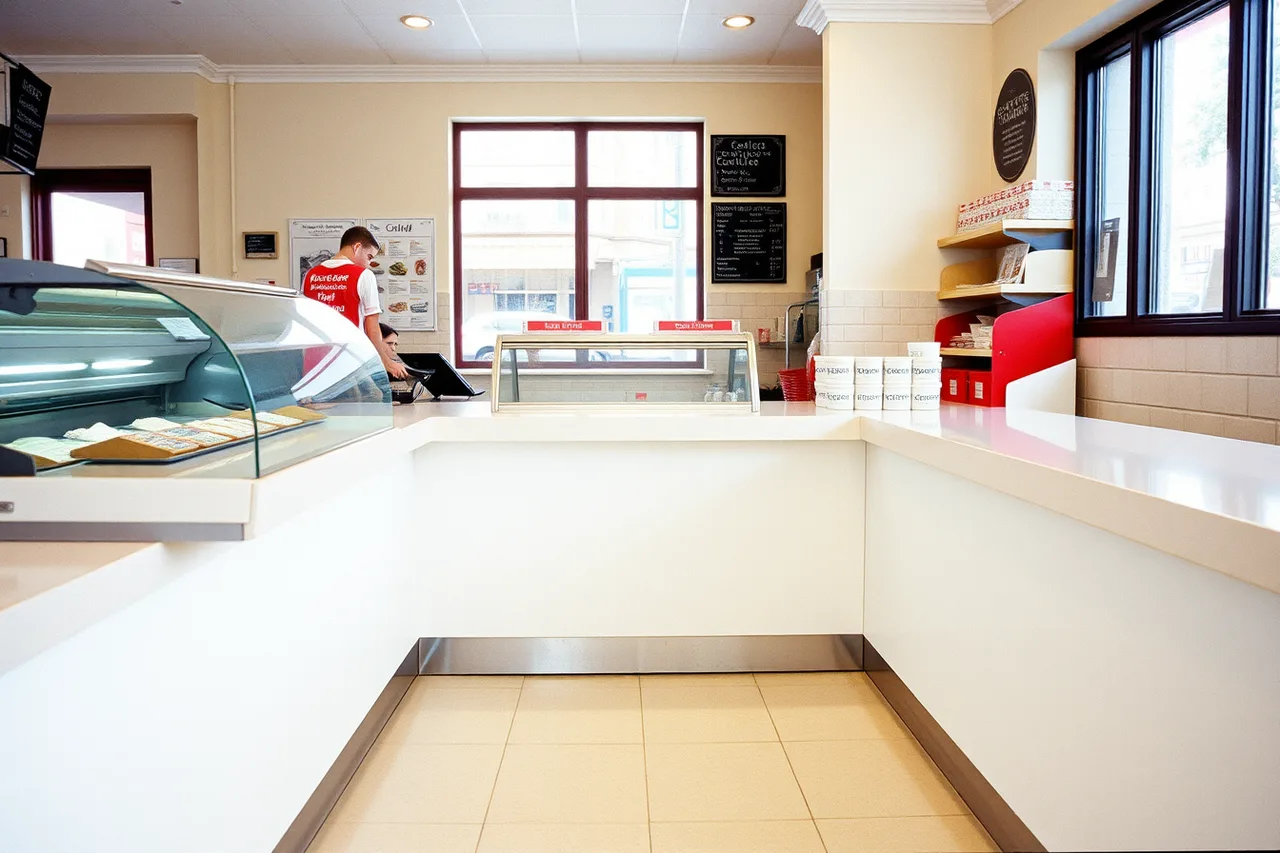
Design to them from the first sketch. Retrofitting a finished counter is far more expensive than drawing it right.
Service counters
The 2010 Standards require a sales or service counter section at least 36 inches long and no more than 36 inches high above the finish floor. A common approach is a lowered section at the end of the run.
A clear floor space at least 30 inches by 48 inches belongs at that section, positioned for a forward approach.
Keep the approach clear. A lowered counter blocked by a queue rope or a menu board is not usable.
Aisles and the path of travel
Aisle width, turning space and door hardware all have numeric requirements. So does the route from the sidewalk or parking into the shop.
Accessible routes must be at least 36 inches clear, and 32 inches is the minimum at a door. Turning space is a 60 inch diameter circle or a T-shaped space inside a 60 inch square with 36 inch arms.
Door hardware must work with one hand and without tight grasping, and an interior hinged door may take no more than 5 pounds of force to open.
If the lease includes a shared corridor or entry, the path of travel may be the landlord's problem. Confirm who fixes it and by when.
Restrooms
If you provide a restroom for customers, it must meet the standards. Some small shops qualify for exceptions, but the exception is narrow and jurisdiction-specific.
A wheelchair accessible compartment must be at least 60 inches wide and 59 inches deep for a floor mounted toilet, or 56 inches deep for a wall hung one. An ambulatory compartment is 35 to 37 inches wide and 60 inches deep.
Ask the local building official, not a contractor, whether your shop qualifies.
Parking
Accessible parking counts are set by the accessible parking space requirements for retail. The number of accessible stalls scales with the total lot count.
| Total lot spaces | Accessible stalls |
|---|---|
| 1 to 25 | 1 |
| 26 to 50 | 2 |
| 51 to 75 | 3 |
| 76 to 100 | 4 |
| 101 to 150 | 5 |
| 151 to 200 | 6 |
A stall must be at least 96 inches wide, and the access aisle at least 60 inches wide. One in every six accessible stalls must be van accessible.
In a strip center, the lot is usually shared. The landlord may own the obligation, but your customers still need the stall.
If the site cannot support the required stalls, that is a reason to keep looking. A weak parking layout is a permanent shop location problem.
Financing the build-out with SBA 7(a) and microloans
Build-out, equipment and access work all cost money before the first scoop sells. Two SBA programs fit small food businesses.
7(a) loan terms from the SBA are the general-purpose option, with longer terms and larger amounts, and they can cover equipment, leasehold improvements and working capital.
SBA microloan program funds are smaller and often come through a local intermediary, which suits a cart, a kiosk or a modest shop build-out.
What lenders look for
A lender wants a signed lease or a strong letter of intent, a build-out budget and a realistic sales projection. A plan review approval letter helps.
Personal credit, collateral and a business plan matter. So does the equity you put in.
Use the right money for the right cost
Match the loan term to the asset. Equipment and leasehold improvements can carry a longer term. Small fixtures and initial inventory should not.
Keep a contingency line. Access work and grease trap surprises are exactly what it is for.
Start the budget with a cost per square foot. Typical quoted fit-out ranges in the US run about $75 to $250 per square foot for a small food-service space. Plumbing, electrical service upgrades, hoods and access work push a shop toward the top of that band.
SCORE mentors and SBA district offices review business plans at no cost. Use them before you approach a bank.
A lender who sees a reviewed plan and a realistic build-out budget moves faster.
Inspections, certificates of occupancy and opening day
After construction, you need sign-offs before you can legally operate. The certificate of occupancy is the document that says the space may be used as a food service establishment.
The inspection sequence
- Rough plumbing, electrical and mechanical inspections during construction.
- Insulation and framing inspections as required by the building department.
- Final building inspection, including the access items on the approved plans.
- Health department pre-opening inspection of the finished kitchen.
- Fire inspection if the jurisdiction requires it for your occupancy and hood.
- Certificate of occupancy issued when all sign-offs are recorded.
What inspectors look for
Working sinks with hot water. A grease trap that is installed and accessible. Smooth, cleanable surfaces. A functioning thermometer and test strips.
They will also check the access items: the counter height, the route and the restroom.
The certificate of occupancy process
Apply through the local building department once all trade inspections pass. Some jurisdictions issue a temporary certificate so you can open while minor items are finished.
Do not schedule staff or order perishable stock until you have the certificate or a written temporary approval. Opening without it can void insurance coverage.
Common last-minute failures
- Grease trap not yet pumped or documented
- Hand sink blocked or missing soap and towels
- Lowered counter blocked by equipment
- No certified food protection manager on site
- Fire extinguisher tags expired
- Dumpster pad or back door access obstructed
Renewals, routine inspections and records continue. Keep your grease manifests, your food safety certificates and your inspection reports in one binder.
A clean record makes the next inspection and the next lease negotiation easier.